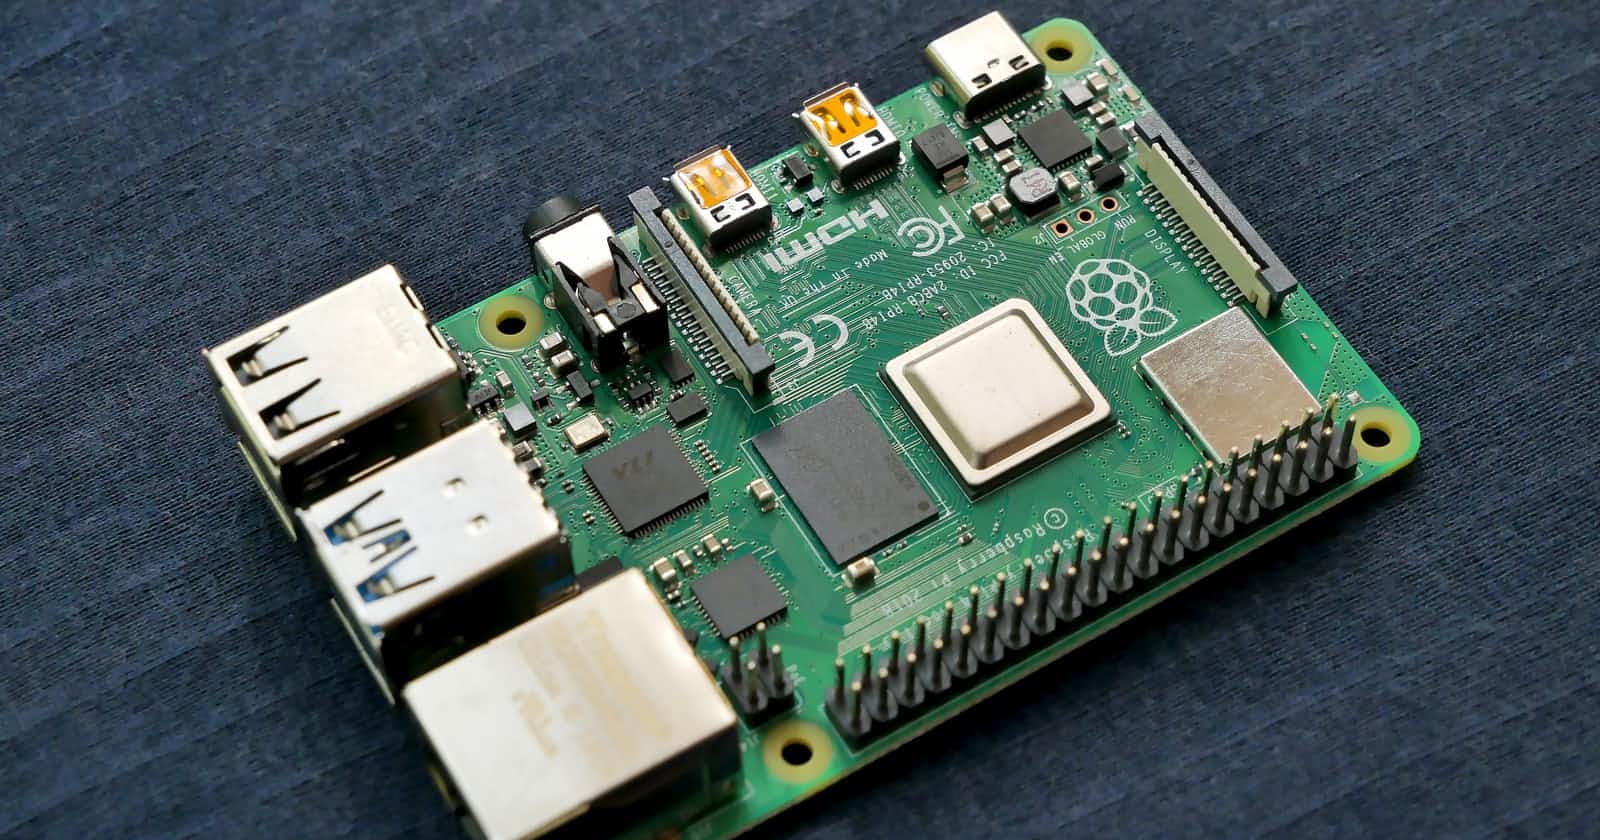
PyEnv - Multiple Python Environments in Raspberry Pi
In general this blog will be useful for any linux distro
Overview
Raspberry Pi has its own distribution of Linux based on debian called Raspbian. As with any Linux distro it comes with a default version of Python. Python 2 and Python 3 are both available. Linux distros are tightly integrated with python for many of its system scripts. These default versions are seldom updated with new python releases and hence can get outdated. We can update python versions but that is fraught with risk of breaking system functionality.
For developers this becomes a headache, since they would want to use different version of python. The way to to solve it is to have multiple python environments installed in parallel. And have a mechanism to switch between them easily.
Python provides venv module which can be used to create isolated virtual environments. But the main use case here to have isolated environments. Hence it is difficult to create environments of different versions using venv.
PyEnv is a tool which is specifically created to solve this problem.
Installation and Configuration
Below is a step by step procedure to install and create virtual environments using pyenv.
Pyenv is cloned from its repository on the target system. It is important to have all the dependencies met before pyenv is cloned. Execute below commands to install all dependencies
sudo apt-get update; sudo apt-get install make build-essential libssl-dev zlib1g-dev libbz2-dev libreadline-dev libsqlite3-dev wget curl llvm libncursesw5-dev xz-utils tk-dev libxml2-dev libxmlsec1-dev libffi-dev liblzma-devClone PyEnv from github
git clone https://github.com/yyuu/pyenv.git ~/.pyenvAdd pyenv to the bash shell profile with below command
# the sed invocation inserts the lines at the start of the file
# after any initial comment lines
sed -Ei -e '/^([^#]|$)/ {a \
export PYENV_ROOT="$HOME/.pyenv"
a \
export PATH="$PYENV_ROOT/bin:$PATH"
a \
' -e ':a' -e '$!{n;ba};}' ~/.profile
echo 'eval "$(pyenv init --path)"' >>~/.profile
echo 'eval "$(pyenv init -)"' >> ~/.bashrc
Now pyenv is ready to install different versions of python.Use below command to list all versions available to be installed
pyenv install --listNow install the python version using below command
pyenv install <version_number>Once successfully installed, this version of python is available for use. Use below command to list all installed versions
pyenv versions
Usage
Pyenv commands
Setting system wide global python version
pyenv global <version_number>Resetting global python version to default
pyenv global systemTemporarily use different version of python in a shell
pyenv shell <version_number>Setup a folder specific python version.
pyenv local <version_number>This will link the python to this particular folder. Whenever this folder is in the path (e.g. through shell) then python version setup using local command above is used.
- After above command, use "python -V" command to check python version. It will be the version set using above command.
- Navigate out of the folder in shell and use "python -V" command to check python version. Now the python used is the global version.
- Currently active python version
pyenv version
Virtual Environments using pyenv
There are two methods to create virtual environments.
Using pyenv virtualenv command
Using python built-in module venv in conjunction with pyenv
1. Using pyenv virtualenv command
Pyenv provides virtualenv command to create virtual environments. Use below steps to create virtual environment. 1.1. Create virtual environment using below command
pyenv virtualenv <version_number> <virtualenv_name>
For example the above command can be "pyenv virtualenv 3.8.3 my-test-env"
1.2. Now this virtual environment will be available to use like any other python version through pyenv commands. The new can be used with pyenv local and shell commands to use with your project. Examples:
pyenv shell my-test-env
pyenv local my-test-env
2. Using python built-in module venv
Sometimes some tools and IDEs automatically detect virtual environments created using python venv module. In those scenarios it is better to use venv module in conjunction with pyenv. Steps as below.
2.1. Change active python version in current shell using below command
pyenv shell <version_number>
2.2. Now create virtual environment using python venv module as below
python -m venv ./venv
Here first venv is module name and second venv is name of folder where virtual environment will be installed.
After successful completion of above command we will have our virtual environment in venv folder
